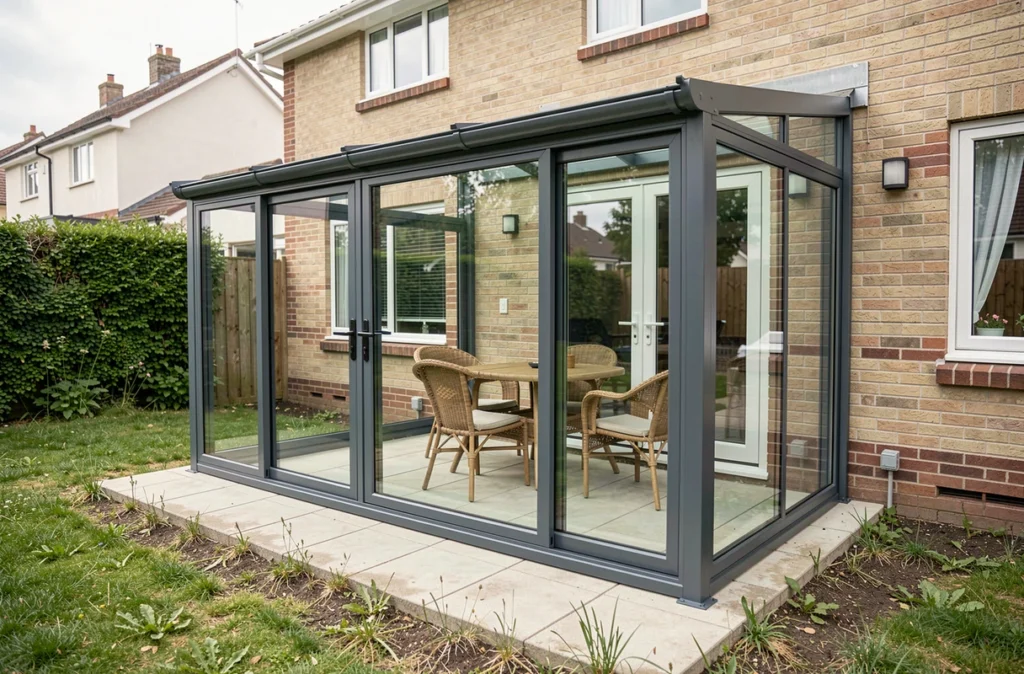
When looking to gain an extra room without launching into a heavy construction project, a kit veranda represents a practical option. Its price is significantly lower than that of a custom veranda, and assembly can sometimes be done without professional help. Choosing the right model depends on a few technical criteria that should be checked before placing an order.
Condensation and thermal insulation: the real test of a kit veranda
On the ground, the first disappointment with a cheap kit veranda rarely comes from aesthetics. It comes from condensation. From the first cool mornings, single glazing or low-quality polycarbonate drips.
This phenomenon is not just a visual inconvenience. Stagnant moisture promotes mold on the joints and degrades the profiles within a few seasons. Feedback on this point varies by brand and region, but the mechanism remains the same: low thermal performance glazing creates a cold bridge.
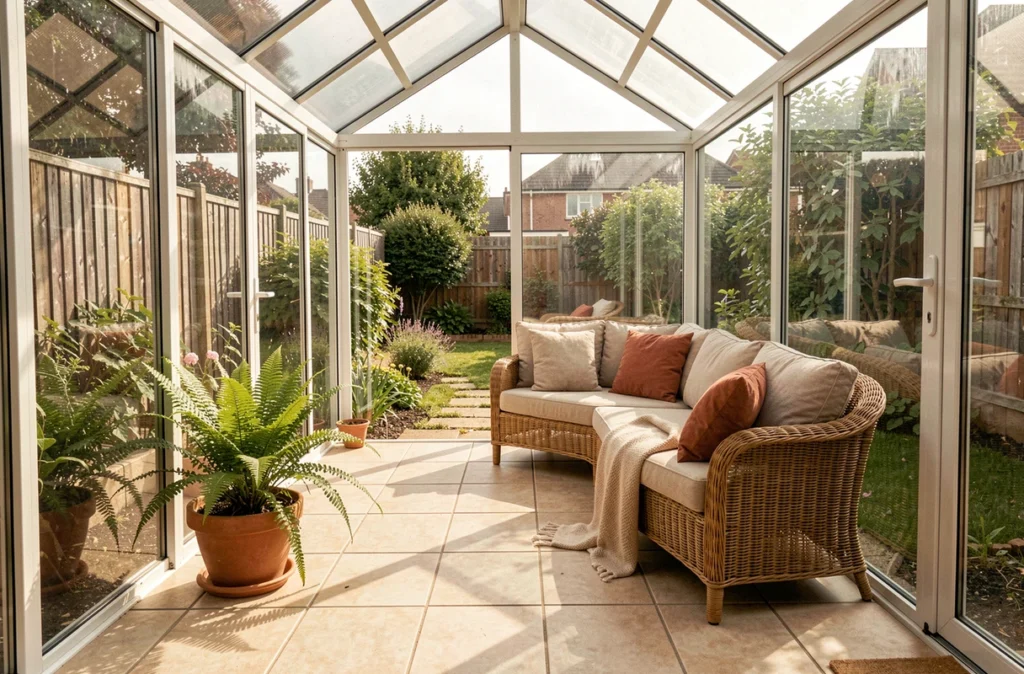
For a veranda intended to serve as a real living space, prioritizing double glazing even on a kit model radically changes comfort. The additional cost at purchase is recouped in heating from the first winter. If only a three-season use (spring, summer, autumn) is planned, thick cellular polycarbonate may suffice, provided one accepts very limited insulation.
The most affordable kits in PVC or aluminum sometimes include opaque panels on the roof and glazing on the facades. This mixed configuration reduces the greenhouse effect in summer while limiting heat loss through the roof, which remains the most exposed surface.
Materials for a kit veranda: aluminum, PVC, or wood
The choice of material determines both the budget, durability, and maintenance required. Useful information can now be found to compare ranges, for example on a cheap Brico Dépôt kit veranda that details the technical characteristics of models available in DIY superstores.
Aluminum remains the most common material for kits. It does not rust, does not deform under heat, and allows for thin profiles that let in more light. Its downside: it is a thermal conductor, which requires thermal break profiles to avoid cold touch and condensation on the uprights.
PVC is cheaper to purchase and offers superior natural insulation compared to raw aluminum. However, PVC profiles are thicker, which reduces the glazed surface. On small verandas, this difference is noticeable.
Wood is appealing for its appearance but requires regular maintenance (staining or painting every two to three years). Wooden kits exist, often in treated pine. They are well-suited to traditional style houses, provided that moisture protection at the base of the posts is not neglected.
- Aluminum: lightweight, durable, thin profiles, but requires thermal break for insulation
- PVC: lowest price, good natural insulation, bulkier profiles that reduce brightness
- Wood: warm aesthetic, mandatory maintenance, caution on joints exposed to water
Surface area, prior declaration, and the 150 m² threshold: rules to know
Before ordering a kit, one must check the created surface area and its administrative consequences. In an urban area covered by a local urban plan (PLU), a prior declaration is sufficient for up to 40 m² of created surface. Outside a PLU area, this threshold drops to 20 m². Beyond that, a building permit becomes mandatory.
A common trap concerns the total surface area of the house after work. If the total (existing dwelling plus veranda) exceeds 150 m², the use of an architect becomes mandatory, even if the veranda itself is only a few square meters. On a 140 m² house, a 12 m² veranda is enough to cross this threshold.
Moreover, extensions subject to authorization now fall under the scope of RE2020 since 2023. A heated veranda or one designed as a real living space may trigger more stringent technical requirements (energy performance, air tightness) than a simple unheated glass shelter. Checking this point with the urban planning department of the municipality avoids unpleasant surprises during compliance checks.
Kit veranda roofing: panel, tile, or flat roof
The roof is the most exposed part of the structure. For a kit, there are generally three options.
Polycarbonate panels (transparent or opaque) remain the most economical choice. They let in light but heat up significantly in summer without external shading. UV-treated polycarbonate lasts better over time, but it gradually yellows on entry-level models.
Insulated sandwich panels offer a good thermal compromise. Opaque, they transform the veranda into a classic extension on the roof side. While zenithal brightness is lost, comfort is gained in both summer and winter.
The flat roof with EPDM membrane appears on some recent kits. It gives a contemporary look and simplifies rainwater drainage. Checking the minimum slope guaranteed by the manufacturer remains the critical point: water stagnation on a flat roof always leads to infiltration.
- Polycarbonate: bright and affordable, but summer overheating without sun protection
- Sandwich panel: good insulation, opaque appearance, suitable for year-round use
- Flat EPDM roof: modern design, requires sufficient slope for drainage
DIY or professional installation: how it affects the budget
DIY installation is the main argument for a kit. You save on labor, which can represent a significant portion of the total cost of a professionally installed veranda.
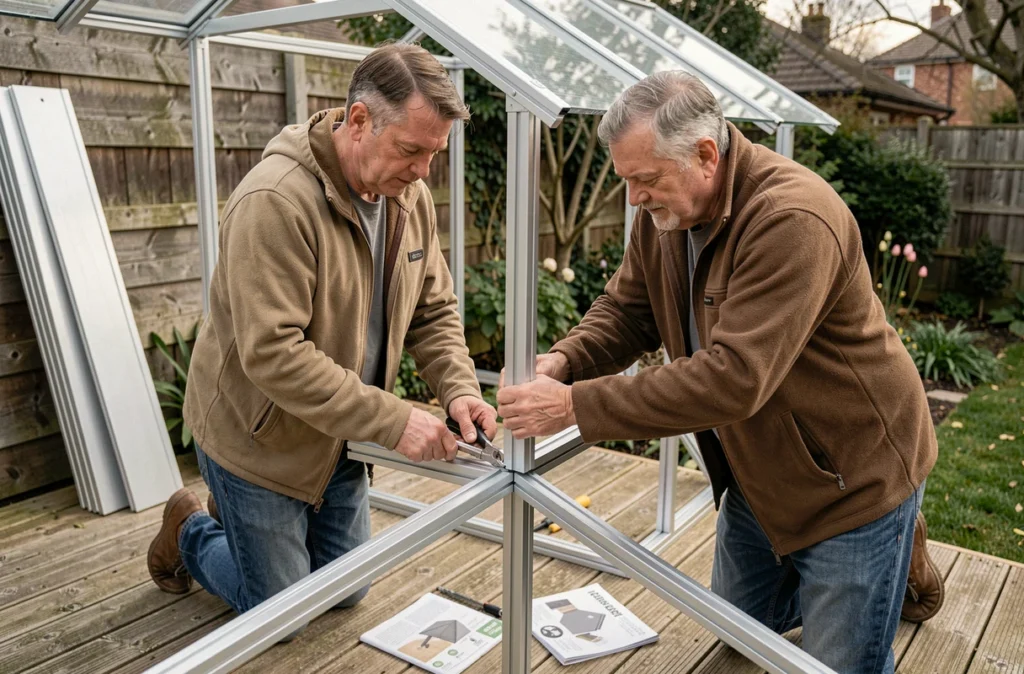
In practice, assembly requires at least two people, a perfectly level ground (concrete slab or adjustable footings), and common tools (drill, laser level, torque wrench). Manufacturer instructions vary greatly in clarity. Before purchasing, consulting user feedback on the specific model helps assess the actual difficulty.
The often underestimated point is the waterproofing at the junction between the veranda and the existing wall. A poorly placed seal in this area causes leaks from the first heavy rain. If you are unsure about mastering this step, having an installer come in just for the wall fastening and waterproofing remains a reasonable compromise.
A well-chosen kit veranda, with the right glazing and a roof suitable for its climate, serves its purpose for many years. The budget saved on installation can be used to upgrade the glazing or roofing, where the difference in comfort is felt daily.