
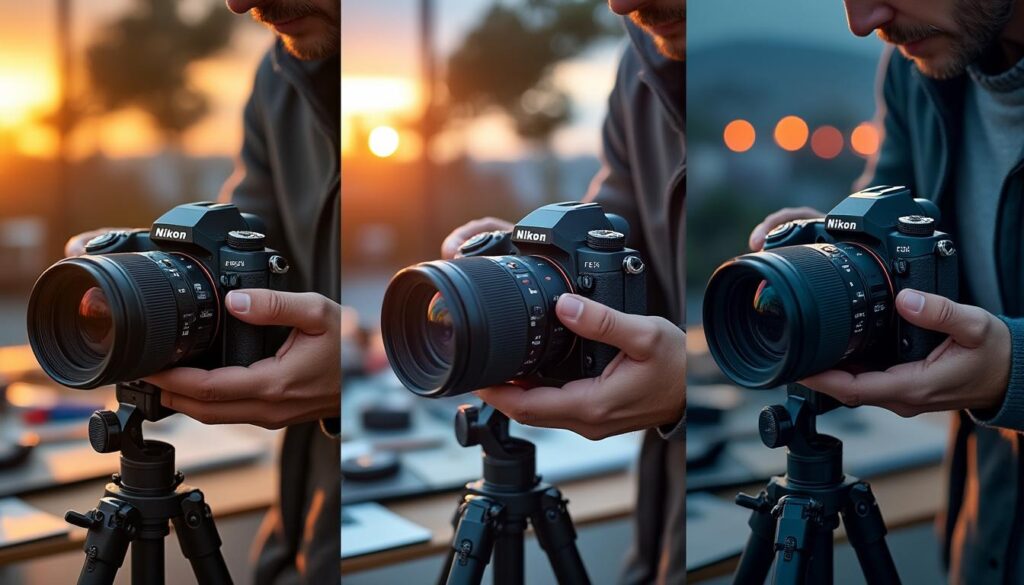
Nikon Z hybrid cameras have become benchmarks in the world of modern photography and videography. However, with exceptional performance, these devices can face specific challenges, notably flicker, a problem that can quickly render your images and videos unusable. Understanding this phenomenon, knowing how to avoid it, and mastering your equipment’s settings are essential skills for every photographer or videographer. This article explores in detail how to avoid flicker on a Nikon Z, providing practical tips and technical advice.
Understanding the Flicker Phenomenon on a Nikon Z
Flicker primarily appears when using artificial light sources, such as fluorescent or LED lamps, which emit intermittent light. This phenomenon can result in undesirable exposure variations during your video recordings, thus compromising the quality of your projects. For example, when filming in a gym lit by neon lights, you might notice a perceptible difference in the light intensity of your videos, creating a flickering effect.
Nikon Z cameras, such as the Z6, Z7, and Z8, feature a built-in flicker reduction function that detects and corrects these light fluctuations. This option helps synchronize the exposure time with common flicker frequencies, typically at 50 Hz and 60 Hz, corresponding to different electrical standards worldwide. Practically, this means your camera can automatically adjust your shutter speed to minimize the flicker effect, making your video recordings much smoother and more professional.
It is crucial to recognize that flicker detection should not be overlooked, especially in indoor environments where artificial light is dominant. Focusing on a good setup for your camera is a fundamental element to avoid this problem; an improperly set shutter speed or inappropriate lighting can quickly worsen the situation.
Several factors contribute to the appearance of flicker:
- Artificial light sources: LED or fluorescent lighting, often unstable.
- Camera settings: An inappropriate shutter speed can directly affect exposure.
- Variations in electrical frequency: Can vary depending on your location.
Mastering flicker is even more crucial in shooting situations where every shot counts, such as in sports events or concerts. By understanding the implications of this phenomenon, you can better anticipate the challenges related to your shoots.

Video Settings Necessary to Avoid Flicker
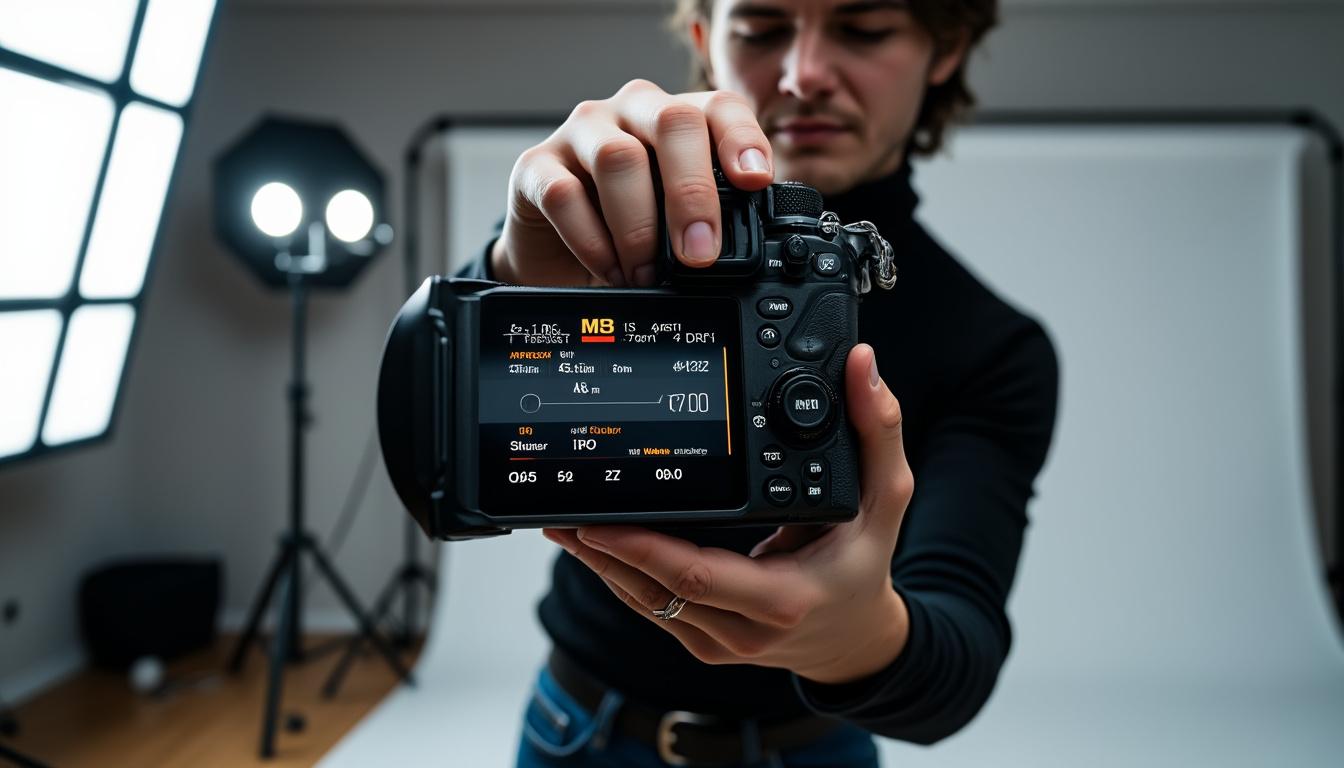
To avoid flicker, it is imperative to focus on the specific video settings of your Nikon Z. One of the first steps is to activate the flicker reduction function found in the shooting menu. Here’s how to proceed:
- Turn on your Nikon Z and switch to video mode.
- Access the shooting menu.
- Find the Flicker Reduction option and activate it.
- Select the appropriate frequency (50 Hz or 60 Hz depending on your location).
Once this function is activated, it is crucial to test it in an environment where flicker is present. For example, if you are filming in a gym, start with trials implementing this function. You will be amazed by the results, as flicker reduction will ensure more consistent and higher-quality imagery.
Additionally, choosing the right recording mode also plays a decisive role. Here are some practical tips to optimize your settings:
- Frame rate: Choose a frame rate that aligns with the frequency of the lighting used.
- ISO settings: Adjust the ISO to minimize digital noise, especially in low-light conditions.
- Shutter speed: Ensure that the shutter speed is at least double your frame rate to avoid motion blur.
By keeping these settings in mind, you not only optimize the quality of your videos but also ensure you are ready to react to lighting variations.
Use Cases for Flicker Reduction
It has become essential to adapt the use of the flicker function in different shooting scenarios. Here are some specific use cases where it proves particularly beneficial:
| Scenario | Type of Lighting | Consequences of Flicker | Recommended Settings |
|---|---|---|---|
| Gym | Fluorescent | Exposure oscillations | 50 Hz, appropriate ISO |
| Concerts | Mix of LED and neon | Rapid light changes | 60 Hz, variable frame rate |
| Night Photography | Urban lighting | Flicker due to LED signs | 50 Hz, fast shutter speed |
In each of these contexts, activating the flicker reduction function will allow you to obtain sharper, properly exposed, and visually appealing images. By considering the impact of your lighting environment on the quality of your shots, you will see a significant improvement in the smoothness of your imagery.
Advantages and Disadvantages of the Flicker Function on Nikon Z
Like any feature in cameras, the flicker reduction function has its share of advantages and disadvantages. A thorough understanding of these points will help you decide if its use is relevant to your shooting style:
| Advantages | Disadvantages |
|---|---|
| Improves color consistency | Limits shutter speed options |
| Effective indoors under artificial lighting | May not work with all types of light |
| Simplifies the shooting process | May slow down burst shooting |
By carefully weighing these advantages and disadvantages, you can optimize your shooting decisions. Adopting the flicker reduction function can significantly transform the shooting experience, allowing you to overcome lighting challenges.
Testimonials and Feedback on Using the Flicker Function
User experiences with the flicker function are often diverse. From professional videographers to amateurs, everyone shares revealing anecdotes. One videographer, primarily working in artificial lighting environments, shared:
“Before activating the flicker reduction function, my videos lacked smoothness, especially in poorly lit places. Since I started using this feature, my colors are much more vibrant and the exposure is impeccable.”
Conversely, other users noted disadvantages. A wedding photographer stated: “During small photo sessions, I noticed that the synchronization time contributed to delays in my shots, especially when quick adjustments were needed.” These testimonials highlight the importance of a solid understanding of the technology used. Knowing when and how to leverage this function is essential to maximize its impact.
Practical Tips for Reducing Flicker During Shooting
To help minimize flicker in your videos, here are some practical tips to follow:
- Use stable light sources: Prefer permanent lighting to reduce flicker risks.
- Check your setup before shooting: Conduct light tests to assess necessary adjustments.
- Adjust your camera settings according to lighting changes: Be flexible in your adjustments for each shot.
Incorporating these best practices into your shooting routine becomes a real asset. The idea is to remain vigilant about lighting conditions and systematically adapt your settings to ambient light to ensure optimal image quality.
Continuous Evaluation and Sharing Your Configurations
Ultimately, it is essential to regularly evaluate your own settings and share your experiences with other photographers. This can give you a better perspective on new trends and effective techniques. Participating in dedicated Nikon forums or joining groups on social media will help improve your photography skills. By sharing your knowledge, you might even discover new tips from other experienced photographers.
To maximize your capabilities with your Nikon Z, consider exploring these resources:
- Official Nikon Website
- Nikon Manuals
- Nikon Forums
By adopting a collaborative approach and staying informed about evolving trends and shooting techniques, you will be able to handle all types of lighting conditions and produce videos of impeccable quality.
Why does my Nikon Z produce flicker when recording video?
Flicker can be caused by fluctuating light sources. Make sure to use the flicker reduction function and adjust the frequency accordingly.
How do I activate the flicker reduction function on my Nikon Z?
Access the shooting menu, select ‘Flicker Reduction’ and choose the appropriate frequency.
When is it preferable to use the flicker function?
It is particularly useful in artificial lighting environments, such as events, concerts, or indoor shoots.
What are the main advantages of the flicker reduction function?
It helps improve color and exposure consistency, making the shooting process smoother.
What disadvantages should I consider when using this function?
Constraints on shutter speed and the fact that it may not be effective with all types of light are points to keep in mind.