
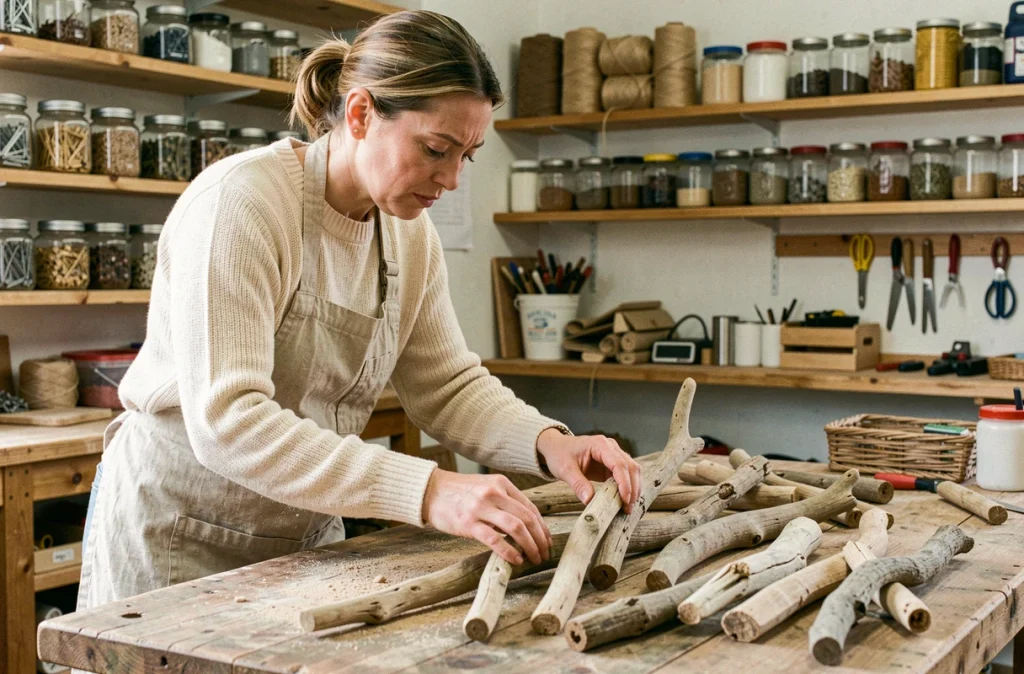
Driftwood is a raw material shaped by saltwater and sunlight, with a smooth surface and gray hues that are perfect for framing photos. Making a driftwood frame requires neither a fully equipped workshop nor woodworking skills: just a few branches collected from a beach, a sturdy backing, and some glue will suffice. The result is as much a decorative object as it is a memento from a walk.
Seaweed and Regulations: What to Check Before Collecting
Before filling a bag with branches, a legal point must be addressed. In France, there is no specific national regulation prohibiting the collection of driftwood in small quantities for personal use. The situation is different from that of sand, pebbles, or shells, which are regulated by the Environmental Code, with fines of up to 1,500 euros for significant extraction.
Municipal decrees may, however, restrict collection on certain beaches or protected areas. The reflex to adopt: check the signage on-site or inquire at the town hall before heading out.
Driftwood is also part of the seaweed, this cord of algae and natural debris deposited by the tide. It is not just waste. Seaweed constitutes a micro-ecosystem: it nourishes invertebrates, shelters small coastal fauna, and helps stabilize sand against erosion. Collecting a few branches for a family project is reasonable, but systematically emptying a stretch of beach poses a real ecological problem.
Creating a DIY driftwood frame only requires a handful of well-chosen pieces, not a massive harvest.
Sorting and Preparing Driftwood Before Assembly
Sorting determines the quality of the finished frame. Not all branches are equal, and this selection step differentiates a polished result from a rough assembly.
Selection Criteria on the Beach
Favor pieces that are already smooth to the touch, without splinters or soft areas that would indicate decaying wood. Flat or slightly curved branches will fit better around the perimeter of a frame than twisted pieces.
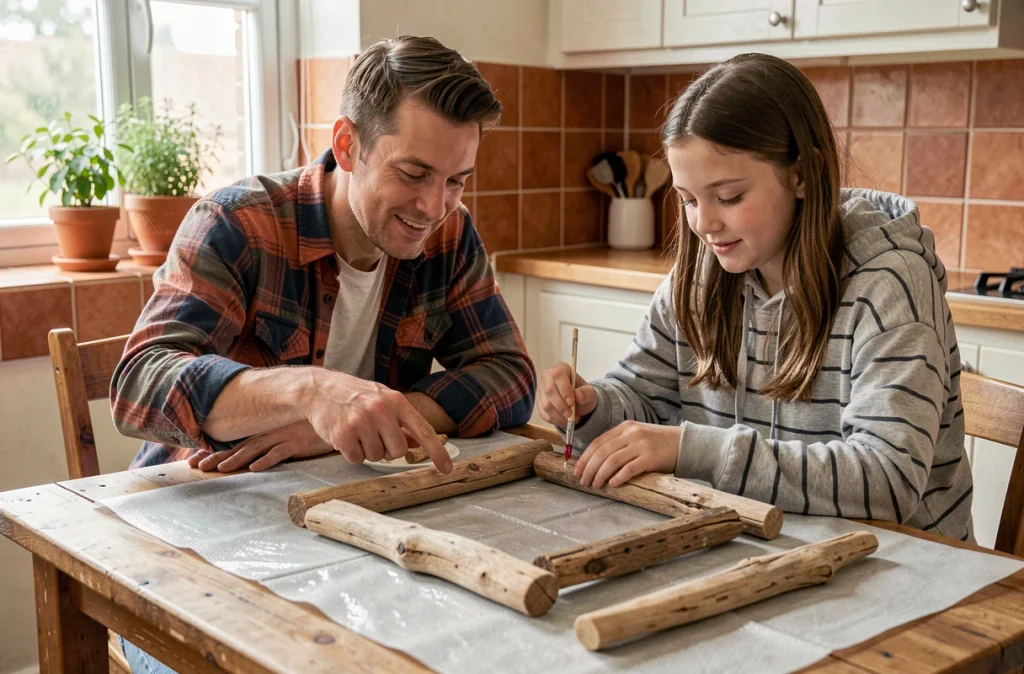
Vary the diameters to create relief on the final frame. Thin twigs (the thickness of a pencil) fill the gaps between thicker pieces. Children often spot the most interesting shapes: let them participate in the selection.
Cleaning and Drying
- Rinse each piece with clear water to remove salt, sand, and any marine organisms still attached.
- Brush rough areas with a stiff brush or medium-grit sandpaper, only if necessary. The natural patina of driftwood is its main decorative asset.
- Let dry in the open air for several days. Damp wood will not adhere well and may warp while drying on the frame.
An optional coat of matte clear varnish after complete drying protects the wood without altering its color or raw appearance. This treatment is recommended if the frame is intended for a humid room like a bathroom.
Assembling the Driftwood Frame: Step-by-Step Method
The materials are minimal: a support frame (new or reclaimed), a hot glue gun, and possibly natural twine (sisal, jute) for a more rustic look at the corners.
Choosing the Support Frame
An old wooden photo frame is the most practical base. Remove the glass and backing, keeping only the chassis. A thick frame provides a better gluing surface. If no frame is on hand, four thin reclaimed boards assembled into a rectangle with wood glue will do.
Layout Before Gluing
Lay out all the branches dry around the frame before gluing anything. This flat mock-up allows you to test the arrangement, adjust lengths by cutting branches with pruning shears, and ensure that the whole covers the support without leaving visible gaps.
Start with the longest pieces that define the four sides. Then fill in the gaps with thin branches and small pieces. Children can participate in this puzzle phase without risk.
Gluing and Finishing
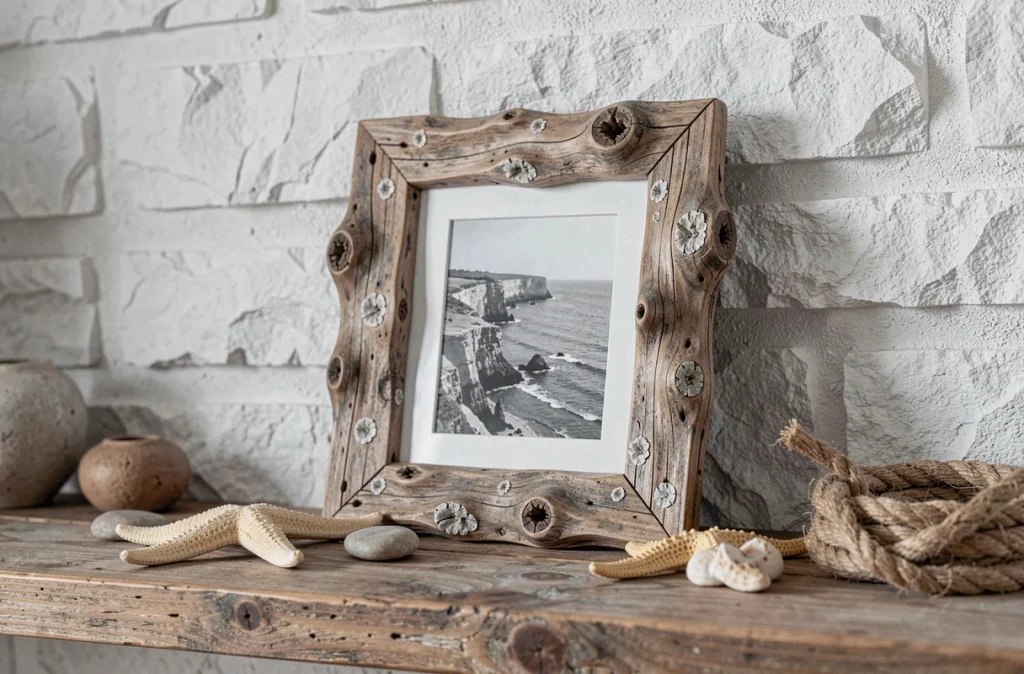
The hot glue gun is the most suitable tool. The glue sets in seconds, supports the weight of the wood, and adheres well to uneven surfaces. Apply a line of glue to the back of each branch, press firmly onto the support frame, and hold for ten seconds.
- Work in successive layers: the first layer covers the support, the second adds volume and relief.
- Wrap sisal twine at the intersections to conceal joints and enhance the natural look.
- Attach an appropriate hanging system to the back based on the total weight (adhesive hook for a light frame, screw-in hook for a heavier frame).
Driftwood Photo Frame: Adapting the Project According to Children’s Ages
Handling the hot glue gun is reserved for adults or supervised teenagers. For younger children, the roles of sorting, arranging branches, and decorating (twine, shells glued by an adult) offer active participation without danger.
A small frame is better suited for a first family project. A postcard size requires less wood and can be completed in an hour, which keeps children’s attention until the end. Larger sizes (A4 or mirror) require more branches and longer drying times between glue layers.
The finished frame can hold a photo slipped in without glass, secured by two small wooden clips attached to the twine. This system allows for easy image changes with the seasons, extending the project’s lifespan well beyond the afternoon of crafting.
Driftwood brought back from a Breton, Atlantic, or Mediterranean beach will not have the same hue or texture. Each frame produces a unique object, impossible to replicate exactly, making it a nature decoration support that is hard to replace with a store-bought item.